Making Your Own Sofa Cushion: A Comprehensive Guide
Creating your own sofa cushion can be a fun and rewarding DIY project. With the right materials and techniques, you can customize your cushions to match the style of your room and add a personal touch to your furniture. In this comprehensive guide, we will provide step-by-step instructions for making a basic sofa cushion with filling material, such as foam or feather. We will cover various tools and materials needed for the project and share tips on choosing the right size and shape for your cushions. Additionally, we will discuss sewing techniques for attaching the cushion cover to the filling material and offer some design ideas to make your cushions stand out. By following these guidelines, you can create comfortable and stylish sofa cushions that are perfect for any room in your home.
When it comes to decorating your home, one of the most important aspects is the seating area. A comfortable and stylish sofa cushion can instantly make a big difference in the overall look and feel of your living room. But what if you don't want to spend a lot of money on a new cushion or have no idea where to start? Making your own sofa cushion is a great option that allows you to customize the size, shape, fabric, and design to fit your specific needs and preferences. In this article, we will provide you with a step-by-step guide on how to make your own sofa cushion, from measuring and cutting to sewing and finishing. So let's get started!
Step 1: Choose Your Fabric and Design

The first step in making your own sofa cushion is to choose the right fabric and design for your needs. There are many options available, including cotton, linen, velvet, suede, leather, and even recycled materials. You should consider factors such as comfort, durability, color, texture, and price when making your decision. Some popular designs include plain squares, circles, triangles, chevrons, stripes, floral patterns, geometric shapes, and animal prints. Once you have chosen your fabric and design, cut it into the appropriate size and shape according to your measurements.
Step 2: Prepare Your Fabric and Tools
Before you start sewing, you need to prepare your fabric and tools. This includes gathering all the necessary materials such as scissors, pins, needles, thread, ruler, tape measure, and iron. You may also need additional tools such as a seam ripper, zipper foot, or presser foot depending on your project requirements. Make sure that your fabric is properly aligned with the grain and that all edges are straight and smooth.
Step 3: Sew the Side Seams
The next step is to sew the side seams of your cushion cover. Start by folding one side of the fabric over 1/2 inch and pressing it with an iron. Then fold it again over another 1/2 inch and press again. This will create a double layer of fabric that will prevent the filling from shifting inside the cushion cover. Use a sharp needle and durable thread to sew along the edge of the fabric, making sure to leave a small gap at the top so that you can turn it right side out later. Repeat this process for the other three sides of the cushion cover.

Step 4: Add the Filling and Sew the Middle Seam
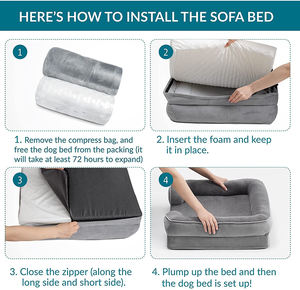
After sewing all the side seams, it's time to add the filling to your cushion cover. Start by opening up one of the side seams and inserting a generous amount of foam or downfill into the cushion cover. Be careful not to overfill it or underfill it – you want it to be just enough to support your body weight without sagging or losing its shape. Once you have filled the cushion cover to your desired level of firmness, carefully close up the side seam using a safety pin or clip. Then repeat this process for the remaining two side seams.
Step 5: Sew the Middle Seam and Finishing touches
Now it's time to sew the middle seam between the two layers of fabric. Open up one of the side seams on each side of the cushion cover and align them together with right sides facing each other. Use a sharp needle and durable thread to sew along the edge of the fabric, leaving about a 2-inch gap at the top so that you can insert any extra padding or stuffing if needed. Once you have sewn both sides together, clip off any loose threads and trim any excess fabric around the edges. Finally, press your cushion cover with an iron to remove any wrinkles or creases.
Step 6: Insert Your Cover onto Your Sofa

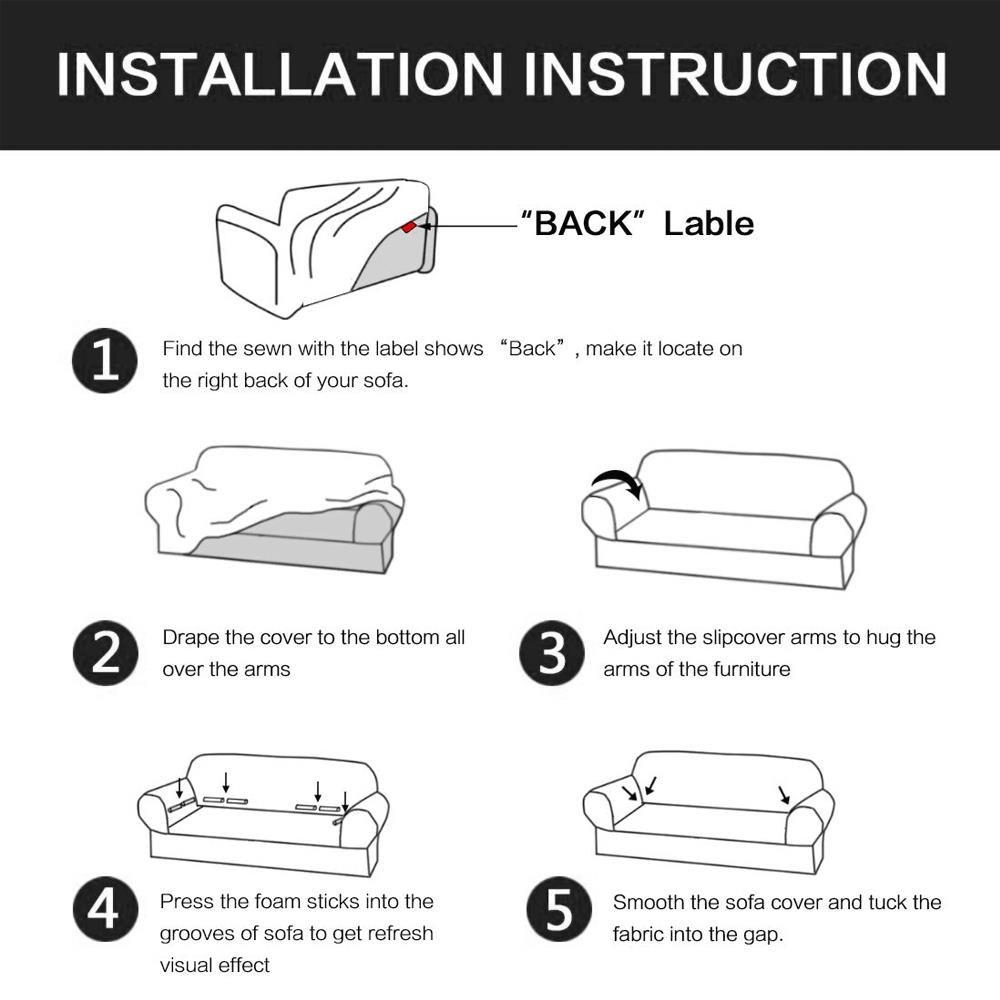
Your final step is to insert your newly made cushion cover onto your sofa or chair. Start by placing it onto one end of the cushion pillow insert or onto the seat of your couch or chair. Then use a staple gun or heavy-duty glue stick to secure it in place by pushing it gently into place until it feels firmly in position. If you are using a pillow insert, make sure that it is evenly distributed throughout the cushion so that it supports your back and neck correctly.
In conclusion, making your own sofa cushion is a fun and rewarding project that allows you to express your creativity and personalize your living space. By following these simple steps, you can create a beautiful and comfortable cushion that suits your needs and preferences. Whether you prefer traditional designs or modern trends, there are endless possibilities when it comes to creating a unique and stylish sofa cushion that will enhance your home decor. Happy crafting!
Articles related to the knowledge points of this article:
The Trend of Vest-Style Down Jackets
Title: The Art of Tie Tying: A Cultural and Technical Exploration
What to Wear with a Down Jacket?
The Splendid World of Piced-up Jackets
Title: Unveiling the Enigmatic Allure of Silk Scarves and Belts


