3D Max Carpets: A Step-by-Step Guide to Creating a Realistic Carpet in 3D Max
This comprehensive guide will walk you through the process of creating a realistic carpet in 3D Max. From material selection to texture mapping, this guide covers all the essential steps. Learn how to model, texture, and light a 3D carpet to achieve a convincing and immersive look. Whether you're a beginner or experienced 3D artist, this guide has something for everyone.
In this article, we will explore the process of creating a realistic carpet in the popular 3D modeling and rendering software, 3D Max. We will cover the essential steps involved in creating a 3D carpet that looks convincing and adding it to your scene.
Step 1: Setting Up the Scene
The first step is to set up the scene. Start by creating a new scene in 3D Max. Next, set up your desired camera angle and create a ground plane to serve as the base for your carpet. It’s essential to have a proper perspective and scale when creating a realistic carpet.

Step 2: Creating the Carpet Geometry
In this step, we will create the actual geometry of the carpet. There are several ways to create 3D carpets, but one common method is to use the "Extrude" tool on a 2D shape such as a rectangle. Adjust the Extrusion height to the desired thickness of the carpet. You can also use the "Edit Poly" tool to add details and texture to the carpet geometry.
Step 3: Applying Materials and Texture
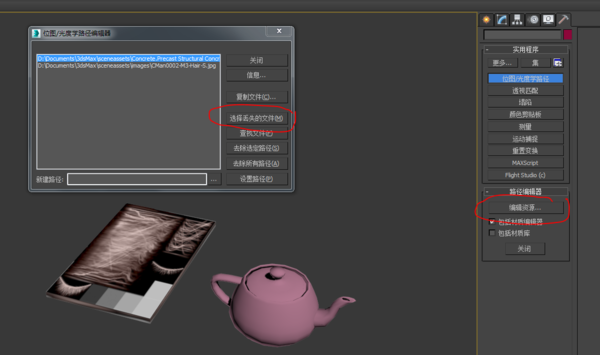
The next step is to apply materials and texture to your carpet geometry. In 3D Max, you can use the "Materials Editor" to create and apply materials. For a convincing carpet texture, you may need to use a high-resolution texture map. You can find free or low-cost carpet texture maps online or in stock libraries. Apply the texture map to your carpet geometry using the "UV Mapping" tool.

Step 4: Adding Detail and Realism
At this point, you should have a basic 3D carpet. However, to make it look more realistic, you can add additional details such as fibers, knots, or patterns. These details can be achieved by using the "Edit Poly" tool to add more geometry or by using particle systems to simulate individual fibers. You can also use lighting techniques such as soft shadows and global illumination to enhance the realism of your carpet.
Step 5: Rendering the Scene
The final step is to render the scene. In 3D Max, you can use the built-in renderer or third-party rendering software such as V-Ray or Corona to achieve high-quality renders. When rendering your scene, be sure to use appropriate lighting, camera settings, and post-processing effects to achieve the desired look. You may need to iterate on your renders to get them just right.

In conclusion, creating a realistic 3D carpet in 3D Max requires a combination of modeling, texturing, lighting, and rendering skills. By following the steps outlined in this article, you can create a convincing 3D carpet that will enhance your 3D scenes. With practice and patience, you can master this technique and create even more complex and realistic 3D environments.
Articles related to the knowledge points of this article:
ThinkQ Da Feng Che Childrens Down Jacket
Title: The Evolution of Insulated Jackets: From Basic to Modern
Title: How to Choose the Perfect Length of Ties for Different Occasions


