Cross-Stitch Scarf for Kids: A Step-by-Step Guide
This step-by-step guide teaches children how to make a cross-stitch scarf. It provides clear instructions on the materials needed, including embroidery thread, felt, and a needle. The guide also explains the different types of cross-stitch patterns and how to create them using a pattern or drawing one's own design. In addition, it offers tips on how to finish the scarf with fringe or tassels. This activity is not only fun but also helps to improve children's fine motor skills and creativity.
Introduction:
Cross-stitch is a traditional form of embroidery that originated in Europe. It involves stitching threads through a fabric to create a pattern. This guide will teach you how to make a simple yet beautiful cross-stitch scarf for children, using basic sewing skills and a pattern specifically designed for young ones.
Materials Needed:
Yarn or embroidery thread in desired colors

A piece of fabric (preferably 100% cotton)
Scissors
Needle
Tapestry needle or beading needle
Pattern or drawing of the design you want to create
Steps to Make the Child-sized Cross-Stitch Scarf:
1、Select Your Fabric: Choose a piece of fabric that is 100% cotton for a soft and comfortable scarf. Ensure it is large enough to fit around a child's neck comfortably.

2、Prepare Your Materials: Cut your yarn or embroidery thread to the required lengths and arrange them in color order. You may need different colors to match your pattern or drawing.
3、Select a Pattern: You can either draw your own pattern or find one specifically designed for child-sized scarves. Simple patterns like stars, hearts, or animals are usually a good choice.
4、Start Stitching: Using your tapestry needle or beading needle, thread it with the yarn or embroidery thread. Starting at the top of the pattern, make small crosses by stitching through the fabric in an X shape. Use a simple running stitch to secure the ends of the cross.
5、Continue with the Pattern: Continue stitching according to your pattern, ensuring that each cross is evenly spaced and aligned with the previous one. Switch colors as needed to complete the design.
6、Trim and Finish: Once you have finished stitching the pattern, use your scissors to trim any excess yarn or thread ends. Secure the ends by stitching them down on the back side of the scarf.
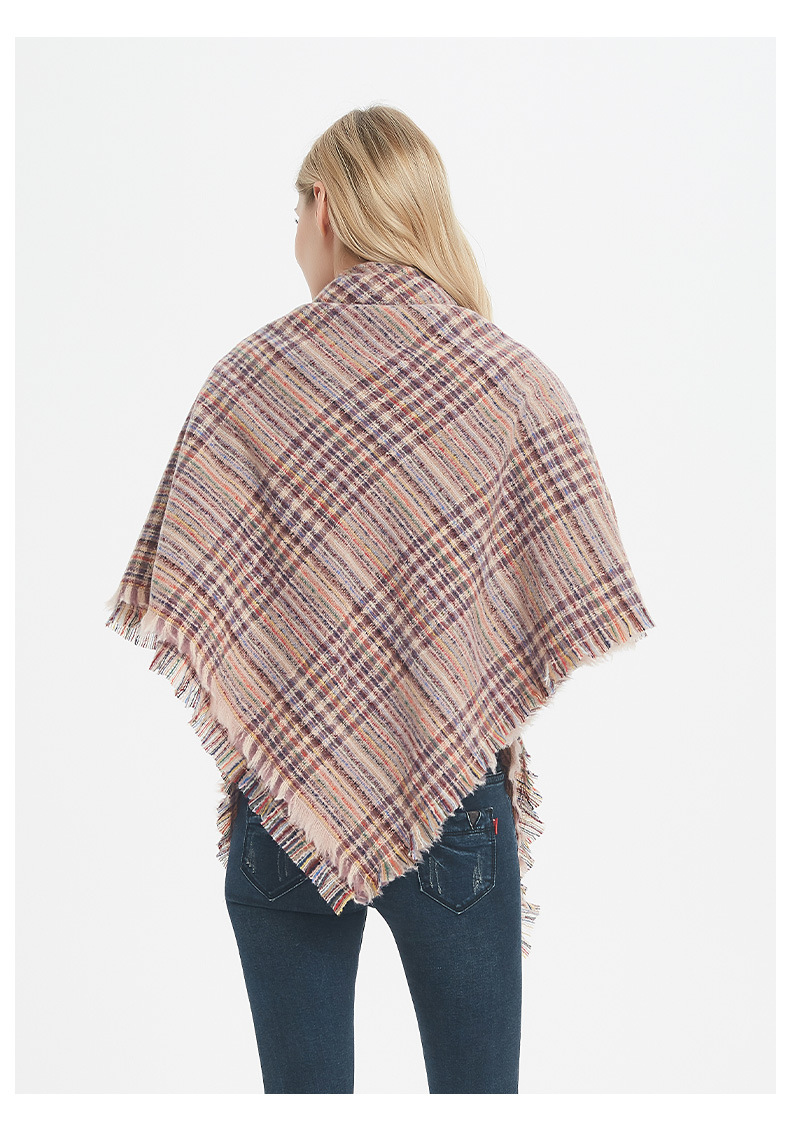
7、Wear and Enjoy: Your child can now wear their very own cross-stitch scarf, adding both warmth and personality to their winter wardrobe!
Common Issues and Solutions:

Threading Difficulties: If finding it difficult to thread the needle, try using a needle threader or wetting the end of the yarn/thread before threading to help it slide through the needle easily.
Pattern Alignment: To ensure patterns are aligned properly, use a ruler or marking pen to lightly mark the position of each cross before stitching.
Color Management: If using different colors, ensure they are all coordinated to match your desired look. You may need to buy multiple skeins of yarn or threads in different colors.
Conclusion:
Cross-stitching is a wonderful way to introduce children to the world of embroidery and fabric crafts. Not only is it a fun and educational activity, but it also allows them to create a unique and personal item that they can wear with pride. By following this step-by-step guide, you and your child can create a beautiful cross-stitch scarf that will provide both warmth and a sense of accomplishment.
Articles related to the knowledge points of this article:
Top 10 Famous Brands of Down Jackets
Title: Mastering the Art of Folding a Tie: A Comprehensive Guide
The rise of wash-free jackets: a convenient and sustainable fashion trend


