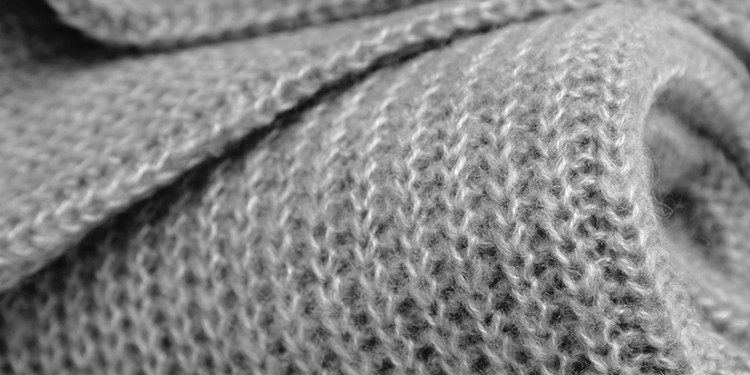
Flat Knit Scarf Tutorial: Step-by-Step Guide to Creating a Warm and Stylish Winter Accessory
This Flat Knit Scarf tutorial provides a comprehensive, step-by-step guide to creating a warm and stylish winter accessory. From selecting the right yarn and needles to mastering basic knitting techniques, this tutorial covers it all. It also includes helpful tips and tricks to ensure your scarf turns out perfect every time. Whether you're a beginner or experienced knitter, this tutorial has everything you need to create a beautiful, functional scarf that will keep you cozy all winter long.
Welcome to this flat knit scarf tutorial! In this guide, we will take you through the steps of creating a warm and stylish winter accessory that will keep you cozy all season long. Whether you are a beginner or an experienced knitter, this tutorial has something for everyone. Let's get started!
What You'll Need:

Knitting needles: Set of 4 or 5 different sizes, depending on the thickness of your yarn
Yarn: A good quality wool or acrylic yarn in the color of your choice
Scissors
Tapestry needle (optional)
Steps:
1、Cast On: With your knitting needles and yarn, cast on the desired number of stitches. For a medium-sized scarf, aim for about 20-25 stitches.
2、Flat Knit Rows: Knit one row, then turn your work and knit another row. Continue this pattern until your scarf measures the desired length. Remember to increase or decrease your number of stitches as needed to maintain a consistent width throughout the scarf.
3、Bind Off: When your scarf is the desired length, bind off the remaining stitches. This can be done in a number of ways, including using a binding off needle or simply passing the first stitch over the second and pulling it through.
4、Weave In Ends: Using your tapestry needle, weave in any loose ends from casting on and binding off. This will help to create a clean finish on your scarf.
5、Blocking (Optional): If you would like to further shape your scarf, you can wet block it. This involves soaking the scarf in water, then pinning it out to the desired shape and allowing it to dry. Be sure to follow any specific blocking instructions that come with your yarn.

6、Fringing (Optional): If you would like to add some extra flair to your scarf, create fringing along one or both ends. To do this, cut several lengths of yarn about 12-18 inches long. Then, using your tapestry needle, sew these lengths onto the edge of your scarf, creating a fringed effect.
7、Finishing Touches: Once your scarf is complete, take a moment to appreciate your handiwork! Then, wrap it around your neck and enjoy the warmth and style it brings.
Tips & Tricks:
When casting on, be sure to not twist your stitches. This will help to create a smoother finished product.
If you are using a heavier weight yarn, consider using larger knitting needles to maintain a consistent gauge. Conversely, if you are using a lighter weight yarn, smaller needles will be necessary.
Take breaks often to avoid hand fatigue. Knitting can be a relaxing but also somewhat repetitive activity, so be sure to take care of your hands and wrists.
Most importantly, have fun with it! Knitting is a great way to express your creativity and produce a unique and useful item at the same time.
With these instructions in mind, you should be well on your way to creating a beautiful flat knit scarf that will keep you warm all winter long. Happy knitting!
Articles related to the knowledge points of this article:
Title: Matching a White Shirt with a Tie: The Ultimate Guide
Title: Stunning Star Scarf Outfits: A Visual Journey through the Perfect Blend of Style and Elegance
Title: The Enchanting World of Silk Scarves
Beautiful Women in Winter Coats
Title: The Art of Tied Hair with Silk Scarf
Title: Unveiling the Enigma: The Mystery and Allure of Masked丝巾女士


