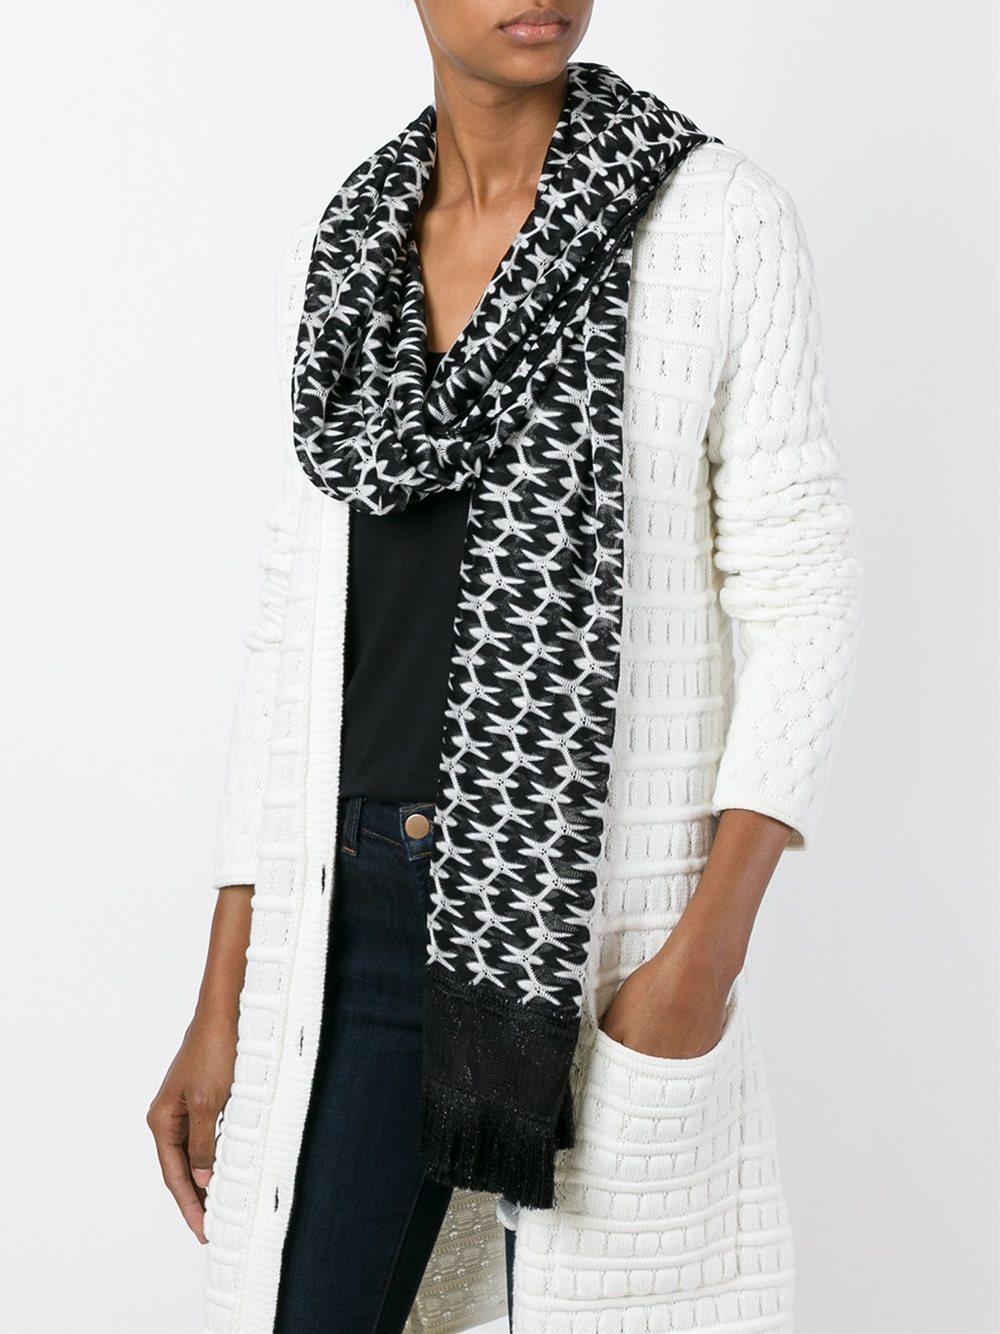
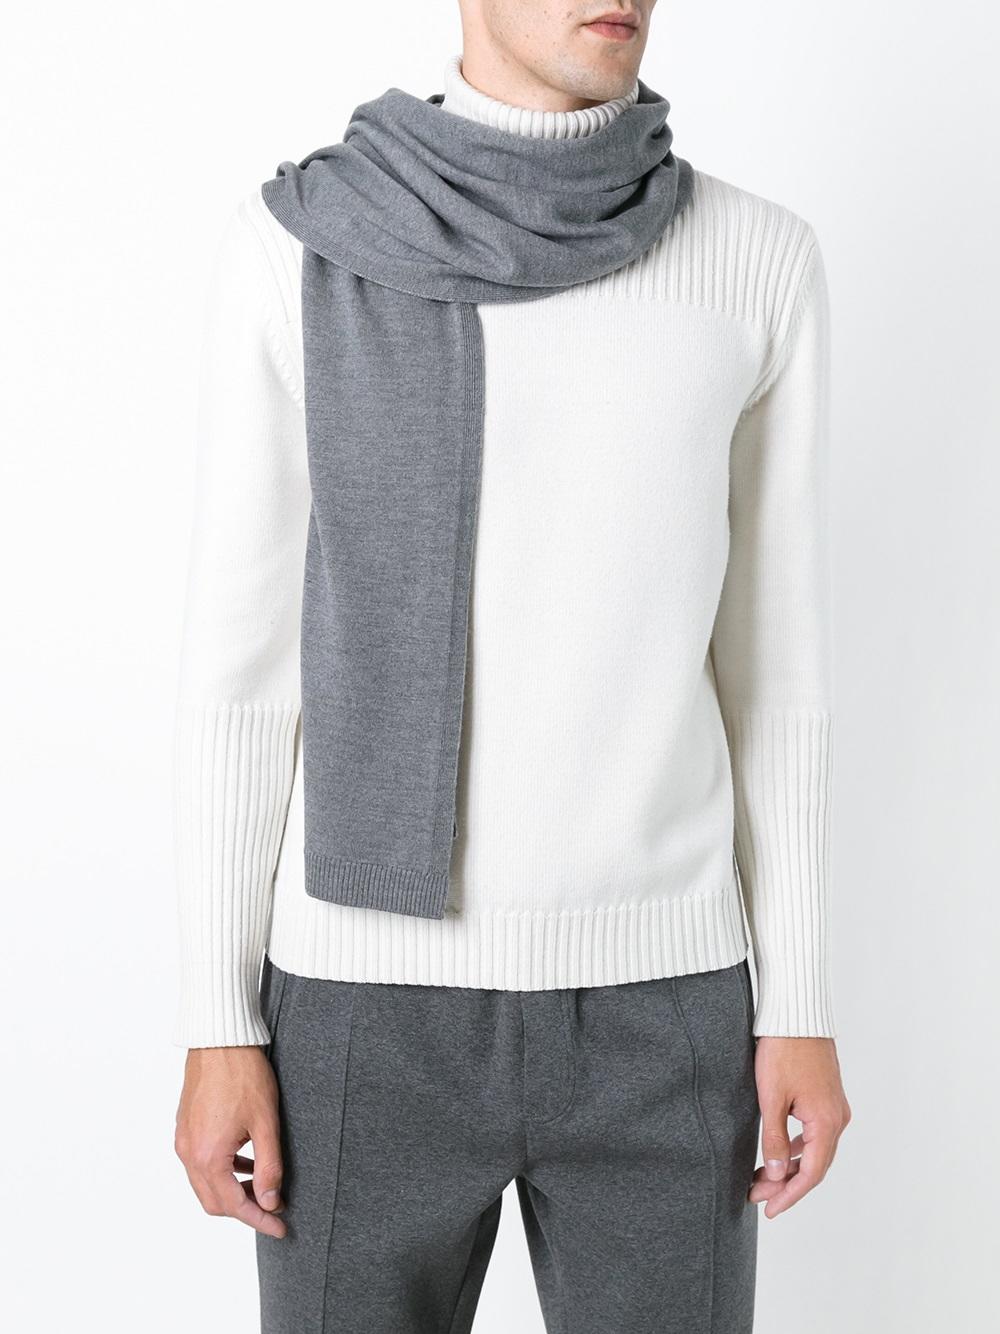
How to Knit a Two-Tone Scarf
This guide provides instructions on how to knit a two-tone scarf. It covers materials needed, tools used, and step-by-step procedures on how to complete the project. The guide also includes tips and tricks to ensure the scarf is of good quality and looks great. Whether you're a beginner or experienced knitter, this guide can help you create a beautiful two-tone scarf that is perfect for any season.
Winter is rapidly approaching, and there’s no better way to stay warm than with a freshly knitted two-tone scarf. Not only are they incredibly cozy, but they also add a touch of creativity and uniqueness to any outfit. In this comprehensive guide, we’ll walk you through the steps of knitting a two-tone scarf, from selecting your yarn to finishing off your creation. Let’s get started!
Materials and Tools

Before you start knitting, make sure you have the following materials and tools on hand:
Yarn in two different colors (we recommend using acrylic yarn for its affordability and durability)
Knitting needles in the size recommended by your yarn brand (usually labeled on the yarn ball)
Scissors
Tapestry needle for weaving in ends
Step 1: Casting On
1、Choose your yarn colors and decide which color will be on the outside of your scarf. This will become your “dominant” color.
2、Start by casting on the desired number of stitches in your dominant color. For a medium-sized scarf, aim for around 20-30 stitches.
Step 2: Knitting the Body of the Scarf
1、Once your initial row is cast on, it’s time to start knitting. Use your dominant color for the first few rows, gradually introducing the second color as you go.
2、Try alternating rows or working in patterns using both colors. For example, you can do three rows in color A, followed by two rows in color B, and so on. Experiment to find a pattern you like!
3、Continue knitting until your scarf is the desired length. Remember to keep track of your rows so you don’t end up with an uneven scarf.
Step 3: Binding Off

Once your scarf is finished, it’s time to bind off the stitches. This involves knitting two stitches together and passing the first stitch over the second, effectively reducing the number of stitches by one. Continue binding off until only one stitch remains on your needle.
Step 4: Weaving In Ends
The final step is to weave in the ends of your yarn. Use a tapestry needle to thread the ends through the back of your scarf, being careful not to create any visible knots. Trim any excess yarn once it’s been woven in.
FAQs
Q: Do I need to be an experienced knitter to make a two-tone scarf?
A: Not at all! This project is suitable for beginners and experienced knitters alike. As long as you follow the steps carefully and take your time, you’ll be able to create a beautiful scarf.
Q: Can I use different types of yarn for this project?
A: Absolutely! This project is versatile and can be adapted to use different types of yarn. Just make sure to choose yarn that is comfortable for your skin and weather-appropriate. Also, be sure to use needles that are suitable for your chosen yarn type.
Q: How many times should I wash my scarf before wearing it?
A: Washing your scarf before wearing it is a good idea, as it can help to smooth out any bumps from knitting and make it more comfortable to wear. However, if you’re using a delicate yarn or one that pills easily, you may want to skip this step. Otherwise, wash it according to the care instructions on the yarn label.
Conclusion
Knitting a two-tone scarf is a fun and rewarding project that can be adapted to suit any skill level or color preference. By following these simple steps, you’ll be able to create a beautiful and cozy scarf that will keep you warm all winter long. So grab your yarn and needles and get started on your next crafting project today!
Articles related to the knowledge points of this article:
Title: Mastering the Art of Tying a Tie: A Comprehensive Guide to Tie Knots
Title: The Timeless Elegance of YAGER Ties
Hoodie and Down Jacket: Fashionable and Functional for All Seasons


