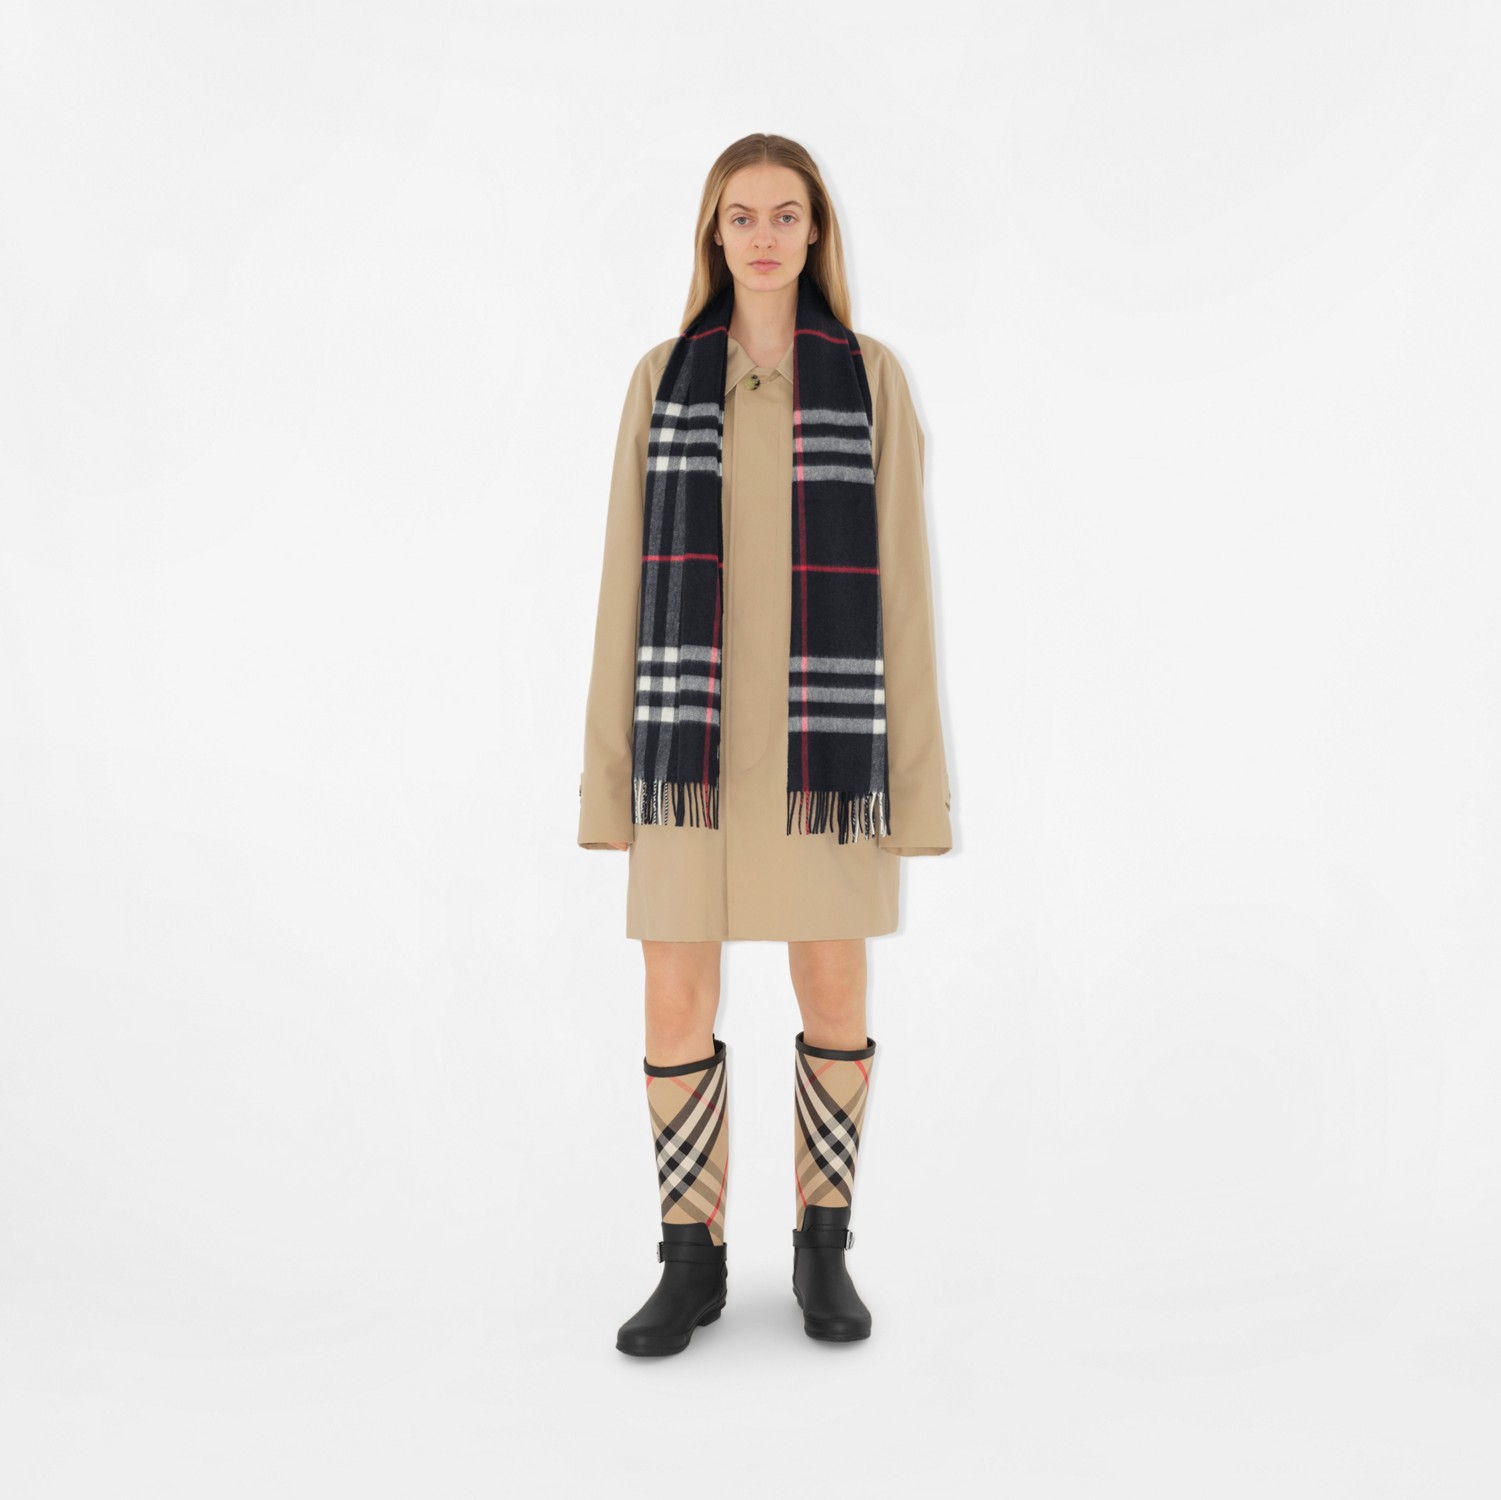
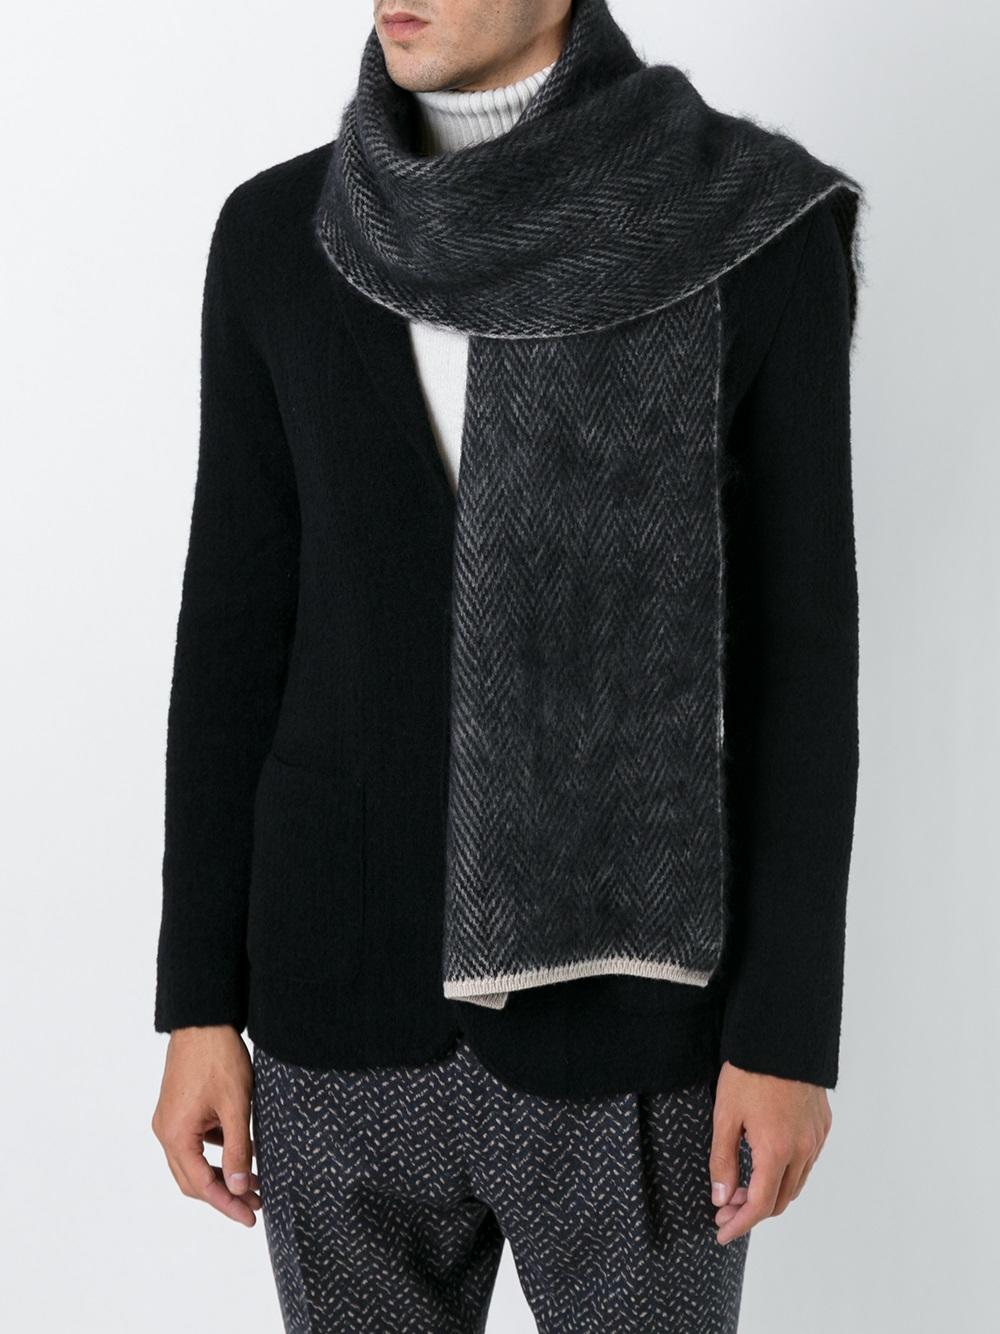
Title: Knitting a Cashmere Scarf: A Step-by-Step Guide
Cashmere scarves are a timeless fashion accessory that can add a touch of luxury to any outfit. Not only are they soft and comfortable to wear, but they can also be a great way to show off your knitting skills. In this article, we'll guide you through the process of knitting a cashmere scarf from start to finish, providing tips on materials, tools, and techniques along the way.

Step 1: Materials and Tools
First things first, you'll need to gather the right materials and tools for the job. Here's what you'll need:
Cashmere yarn: Make sure to select a high-quality cashmere yarn that's soft and smooth. Look for brands that offer 100% cashmere yarn to ensure authenticity.
Knitting needles: Choose a set of knitting needles that are the right size for the project. For a basic scarf, you'll typically need a set of straight needles in sizes US 7 (4.5mm) or US 8 (5mm).
Scissors: You'll need a pair of sharp scissors to cut the yarn at the end of the project.
Blocking wires or pins: These are used to block and shape the scarf after it's been knitted.
Step 2: Cast On
Once you've gathered your materials, it's time to start knitting. The first step is to cast on the desired number of stitches. For a basic scarf, you might start with 12 stitches. Remember to leave a long tail at the beginning of the yarn to create a fringe later on.
Step 3: Knit the Body of the Scarf
Next, you'll begin knitting the body of the scarf. For a basic scarf, you can use the garter stitch, which is easy to learn and creates a nice, soft texture. Here's how it's done:
1、Knit every row for several inches until the scarf is as long as you want it to be.
2、When you reach the desired length, cast off the remaining stitches using a casting-off technique such as the basic cast-off or the cable cast-off.
Step 4: Create a Fringe

Now it's time to add a fringe to the ends of your scarf. Here's how to do it:
1、Cut several pieces of yarn about 12 inches long each.
2、Split the tail end of the yarn at one end of the scarf into three or four strands.
3、Using your fingers or a small hook, pull a strand of yarn through one end of the scarf, creating a loop.
4、Repeat on the other end of the scarf.
5、Adjust the length of the fringe as needed by trimming or adding more strands.
Step 5: Block and Shape the Scarf (Optional)
If you want your scarf to have a more polished look, you can block and shape it after it's been knitted. Here's how:
1、Wet the scarf lightly with water or a steam iron.
2、Lay the scarf flat on a blocking wire or pin it out on a flat surface. Make sure to stretch it out evenly so it has a nice, even shape.
3、Allow the scarf to dry completely before removing it from the blocking wire or pins.
And there you have it! A complete guide to knitting a cashmere scarf from start to finish. With these steps, you should be well on your way to creating a beautiful, high-quality cashmere scarf that you can wear with pride. Happy knitting!
Articles related to the knowledge points of this article:
Title: The Art of Suit Jacket and Tie Photos: Capturing the Essence of Confidence and Sophistication
The Overcoat and Down Jacket: Winter Fashion Essentials
Title: The Art of Tying a Bow Tie: A Comprehensive Guide to Creating a Perfect Knot
Title: Mastering the Art of Dressing for Success: A Guide to Matching a Purple Tie with a Shirt


