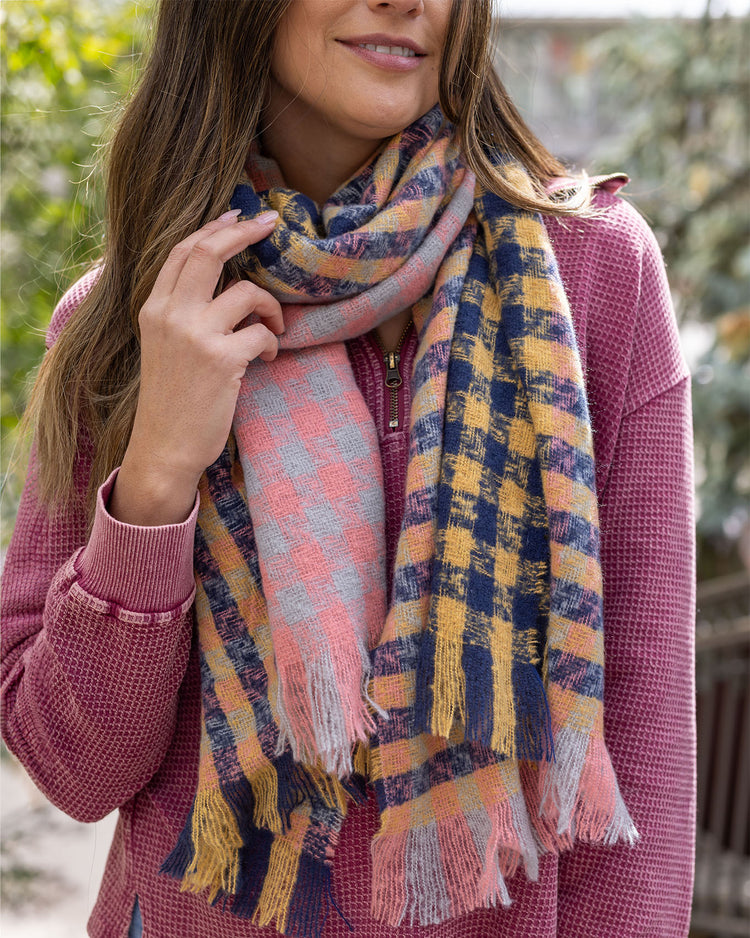
How to Tie a Scarf: A Step-by-Step Guide
Winter is officially here, and with it comes the need for everyone to find ways to stay warm. One of the most popular ways to combat the cold is by wrapping up in a cozy scarf. However, for many people, simply tying a scarf can become a frustrating experience. If you find yourself constantly asking, "How do I tie this scarf?", then look no further. This comprehensive guide will walk you through the process of how to tie a scarf, step by step.
Step 1: Selecting Your Scarf
The first step is to choose the right scarf for the job. There are many different materials, colors, and styles of scarves to choose from. Consider the weather conditions you will be in, as well as your personal style, when selecting your scarf. For example, if you live in a colder climate, you may want to opt for a thicker, acrylic scarf. On the other hand, if you live in a warmer climate, a lighter, cotton scarf may be more suitable.

Step 2: Preparing Your Scarf
Before you even begin tying your scarf, there are a few things you need to do to prepare it. First, make sure your scarf is the right length for your neck. If it's too long, it can become cumbersome and uncomfortable. If it's too short, it won't provide enough coverage. You may need to fold the scarf in half lengthwise to make it the right size.
Next, decide which end of the scarf you want to use as the "tail" and which end you want to use as the "loop." This will depend on the specific scarf tying technique you are using.
Step 3: Basic Knots and Tucks
There are many different ways to tie a scarf, but some of the most popular and easiest to learn are the basic knots and tucks.
The first is the simple "loop and tie" method. Simply take your scarf and loop it around your neck, then bring the two ends together and tie them into a knot. This is a great, no-fuss way to keep warm.
Another popular method is the "tuck and roll" method. Here, you take your scarf and tuck one end into the other, then roll it around your neck until it feels comfortable. This method gives you more of a "bandana" look and can be great for sports or outdoor activities.

Step 4: Advanced Techniques
If you want to take your scarf tying skills to the next level, there are many advanced techniques you can learn. One popular method is the "heart" shape scarf tie. This involves taking your scarf and folding it in half lengthwise, then wrapping it around your neck so that it forms a heart shape in the front. This look can be very romantic and fun for special occasions.
Another advanced technique is the "infinity" scarf tie. This involves taking your scarf and wrapping it around your neck twice, then connecting the two ends together to form an infinity symbol. This look is great for those who want a little more coverage around their neck.
Step 5: Matching Your Scarf to Your Outfit
Just as important as how you tie your scarf is how you match it to your outfit. You don't want your scarf to clash with the rest of your outfit, so take some time to choose one that complements your clothing. For example, if you're wearing a solid-colored sweater, you might want to choose a patterned scarf to add some visual interest. Or, if you're wearing a bright-colored jacket, you might want to choose a neutral-colored scarf to balance out the look.
In conclusion, tying a scarf shouldn't be a source of frustration. With these step-by-step instructions, you should be able to master the art of scarf tying in no time at all. So go out there and stay warm this winter with confidence—you've got this!
Articles related to the knowledge points of this article:
The Importance of a Winter Coat
Title: Mastering the Art of Collar Tie Color Combinations for a Sharp and Professional Look
Title: A Comprehensive Guide to Italian Silk Scarves Brands
Feather and Down Processing Plant: A Journey into the World of Warmth and Comfort
Feather-Filled Vest: A Fashionable and Functional Layering Piece
Title: The Timeless Allure of Silk Scarfs: A Fashion Statement That Transcends Time and Culture


